
Techniques -Home
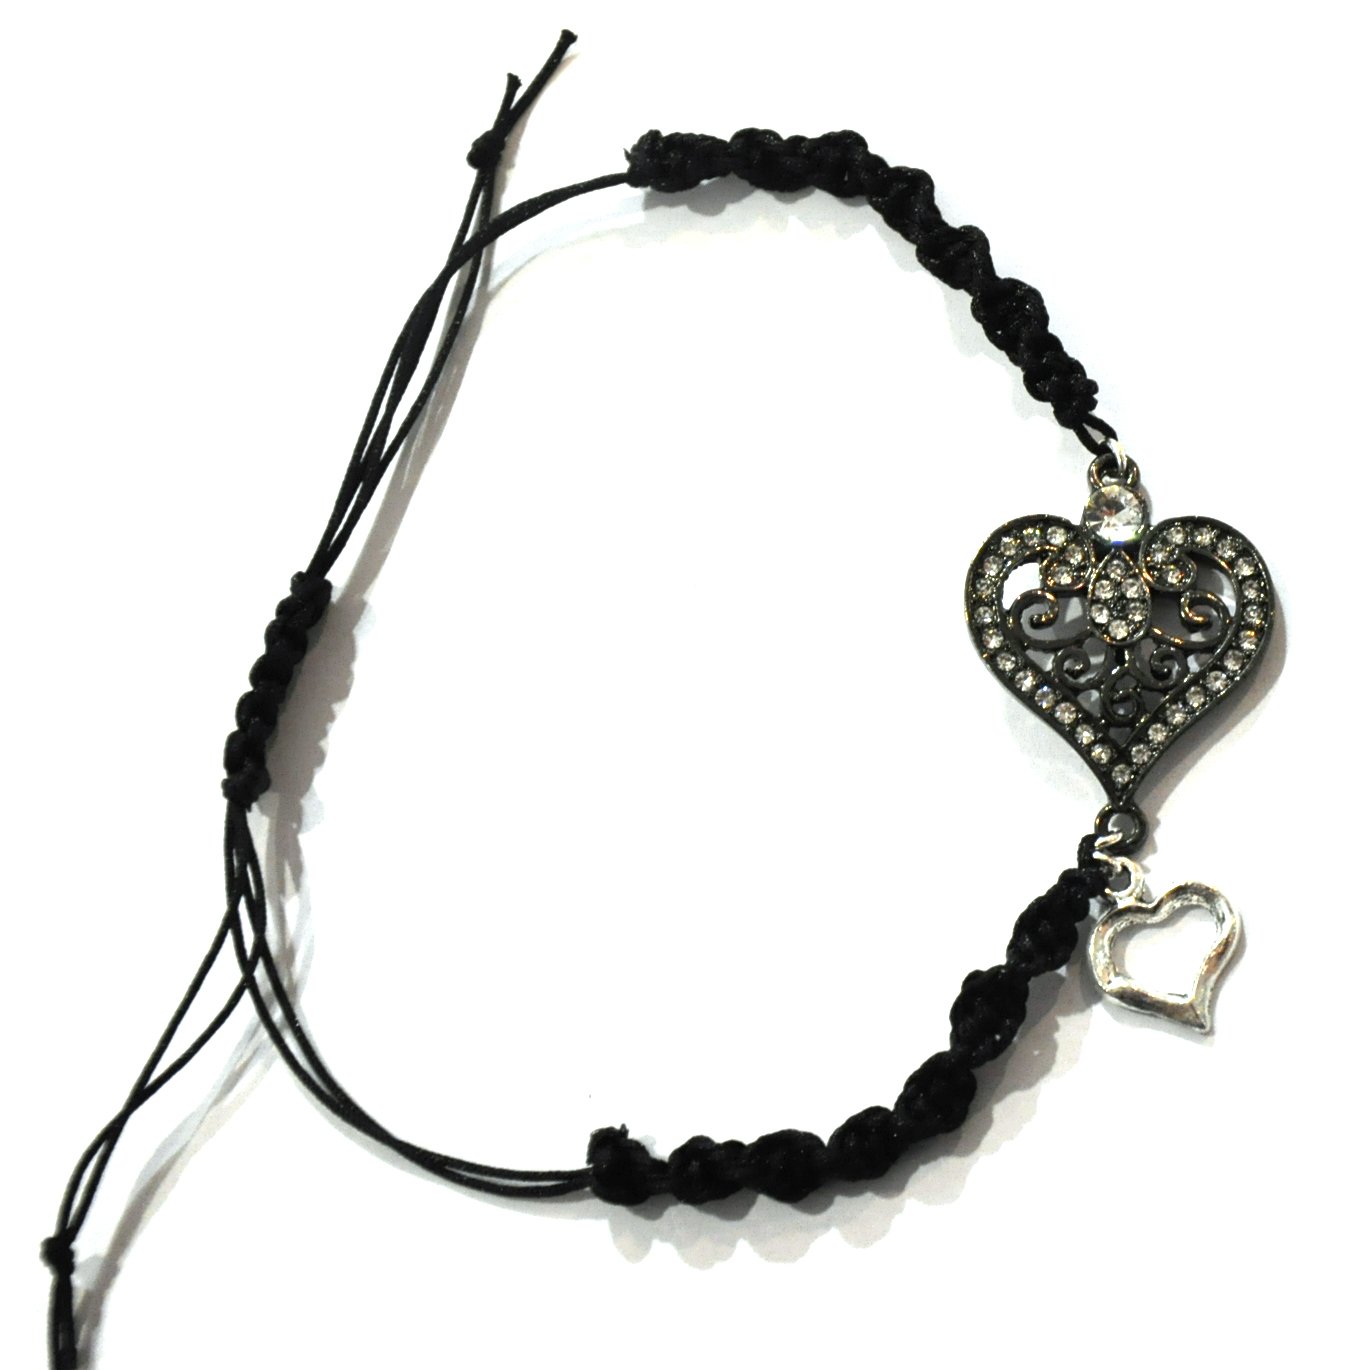
Macrame Spiral Knot out our Bead Inspired Kits page for design ideas.
Tools:
Clip Board
Bull dog Clip
Side Cutters
Materials:
Clear Nail Polish
5 meters of cord (this will give you enough cord to make an adjustable clasp)
|
|
|
|
|

Step 1
Cut two lengths of cord 40cm, fold in half and tie an over hand knot about 1cm from the unfolded end. |
Step 2
Attach each of the folded cords to the connecter with a Jump Lock, this will prevent wear and tear on the cord. If you are unsure how to use a Jump Lock SEE Using a Jump Lock |
Step 3
Secure one end of the bracelet to the top of the clip board and the other end to bottom of the clip board with the bull dog clip.
|
Step 4
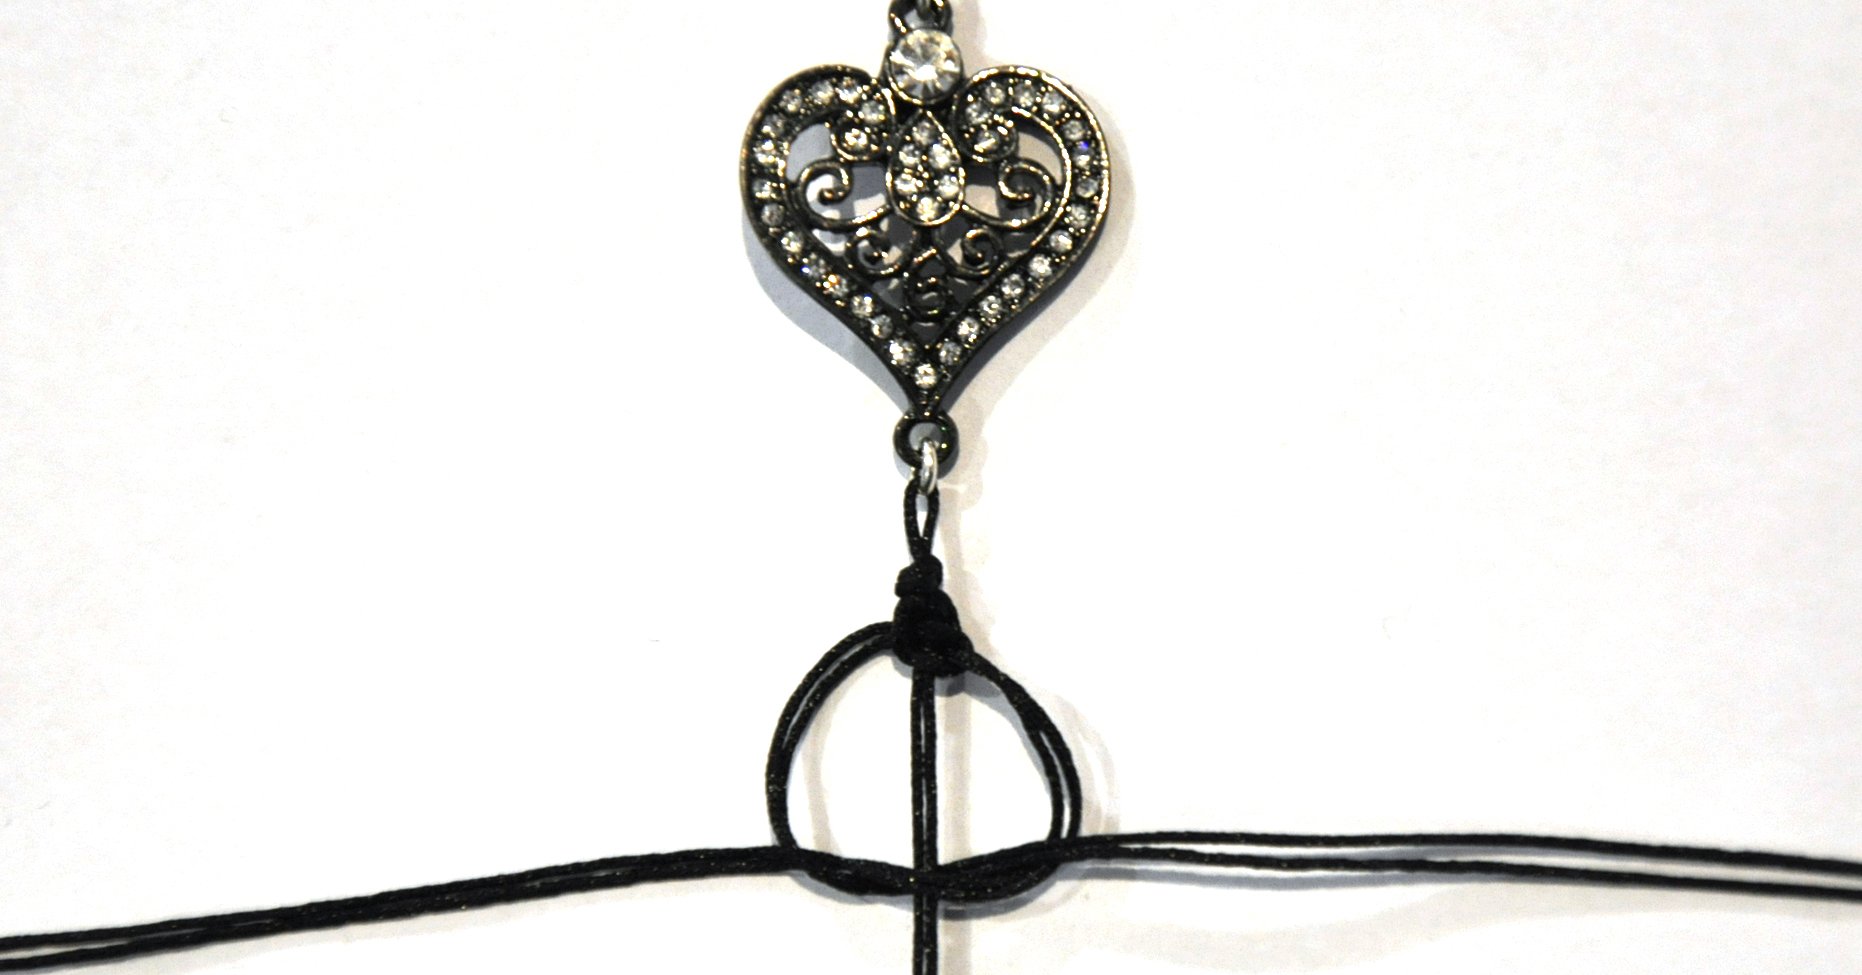
From the remaining cord cut 4 lengths of 80 cm each. Put two lengths aside. Hold two lengths together and pass them under the center band just below the connecter until you have equal lengths at both sides.
|
Step 5
Pass the right cords over the center band.
|
Step 6
Pass the top cords over and hold in place at the bottom of the clip board. |
Step 7
Pass the unsecured cord over top of the secured cord.
Under the center band.
And over the right side loop, this make your first knot. |
Step 8
Pull both ends of the cord to tighten the knot and slide the knot up as close to the Jump Lock as you can.
|
Step 9
Continue to knot as in Step 7, left cord held facing down, right cord passing over to the left then over the held down cord, under the center and over the loop on the right.
|

Step 10
As you are working you may need to turn the connecter over to keep the working end flat.
|

Step 11
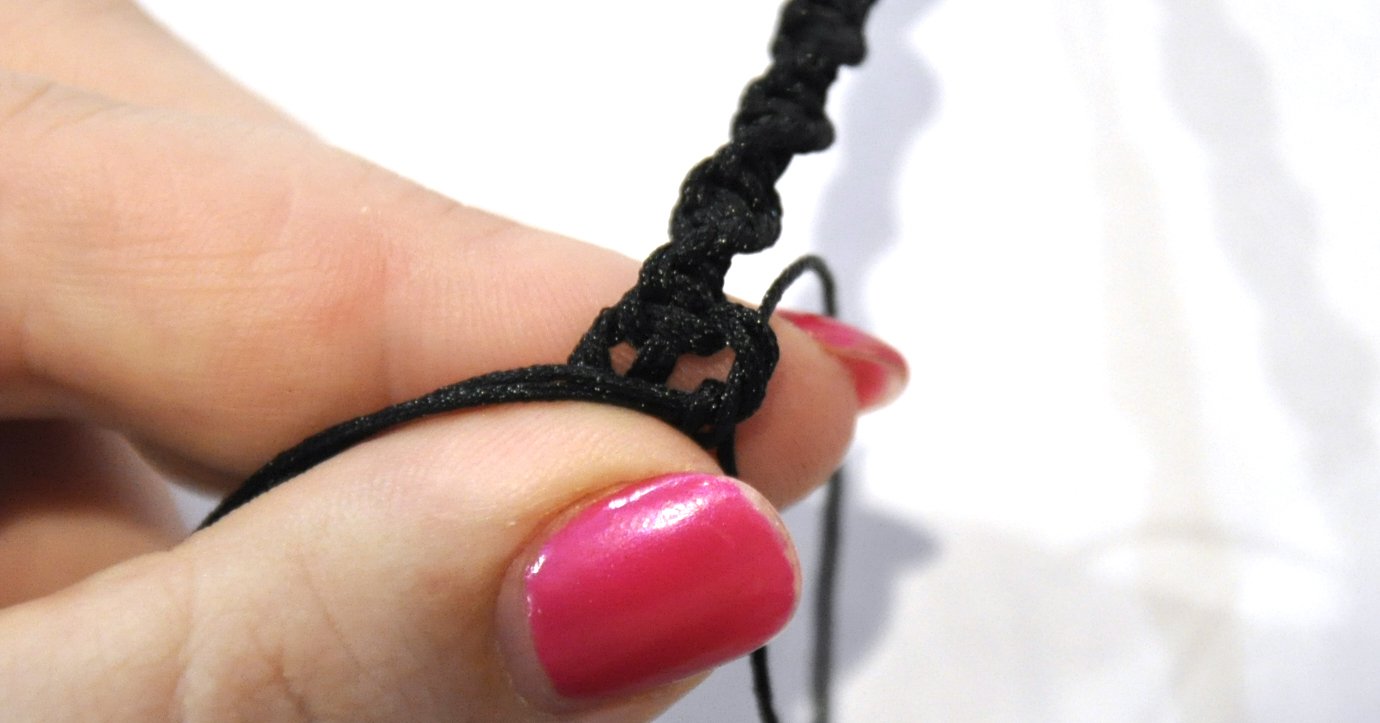
Continue working until you have made about 5cm of knots (adjust this length for wrist size).
|
Step 12
Turn the connecter so you are working on the back and tie an over hand knot.
|

Step 13
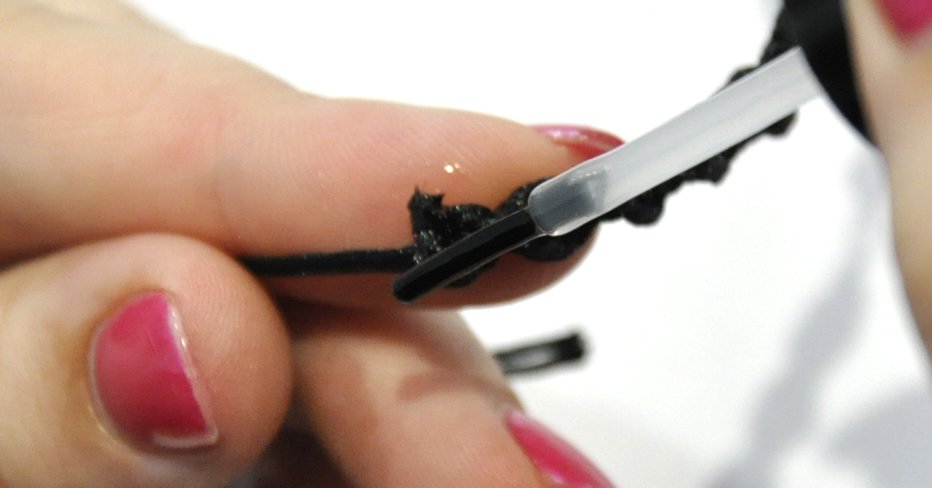
Secure the knot with clear nail polish.
|
Step 14
Trim the ends and reapply the nail polish.
|

Step 15
Take the bracelet off the clip board, turn around and reattach, follow the previous steps to complete the other side .
|
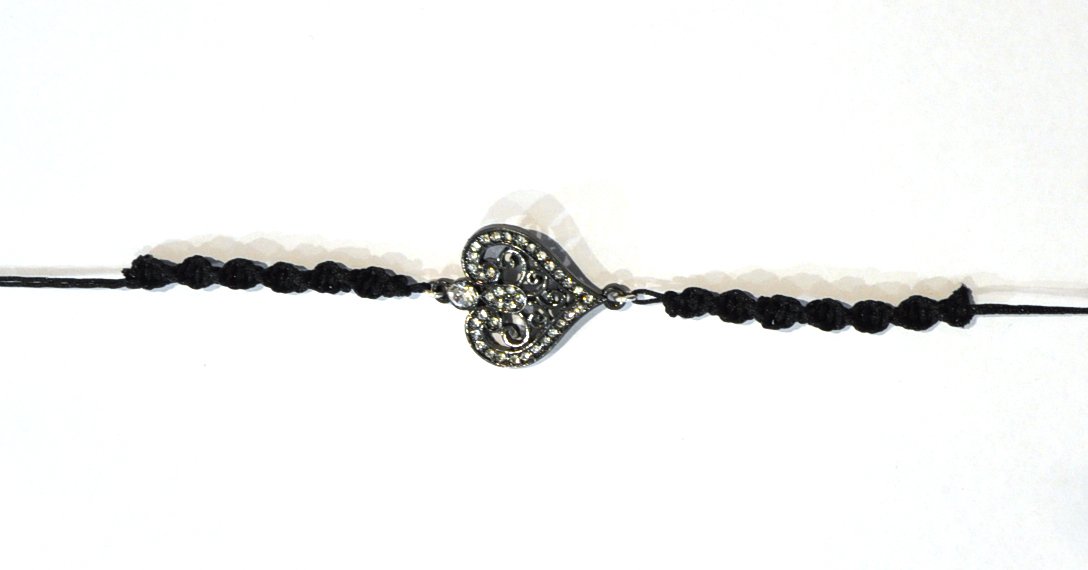
Step 16
To make the clasp SEE Macrame Adjustable Clasp Turn the connecter so you are working on the back and tie an over hand knot.
|